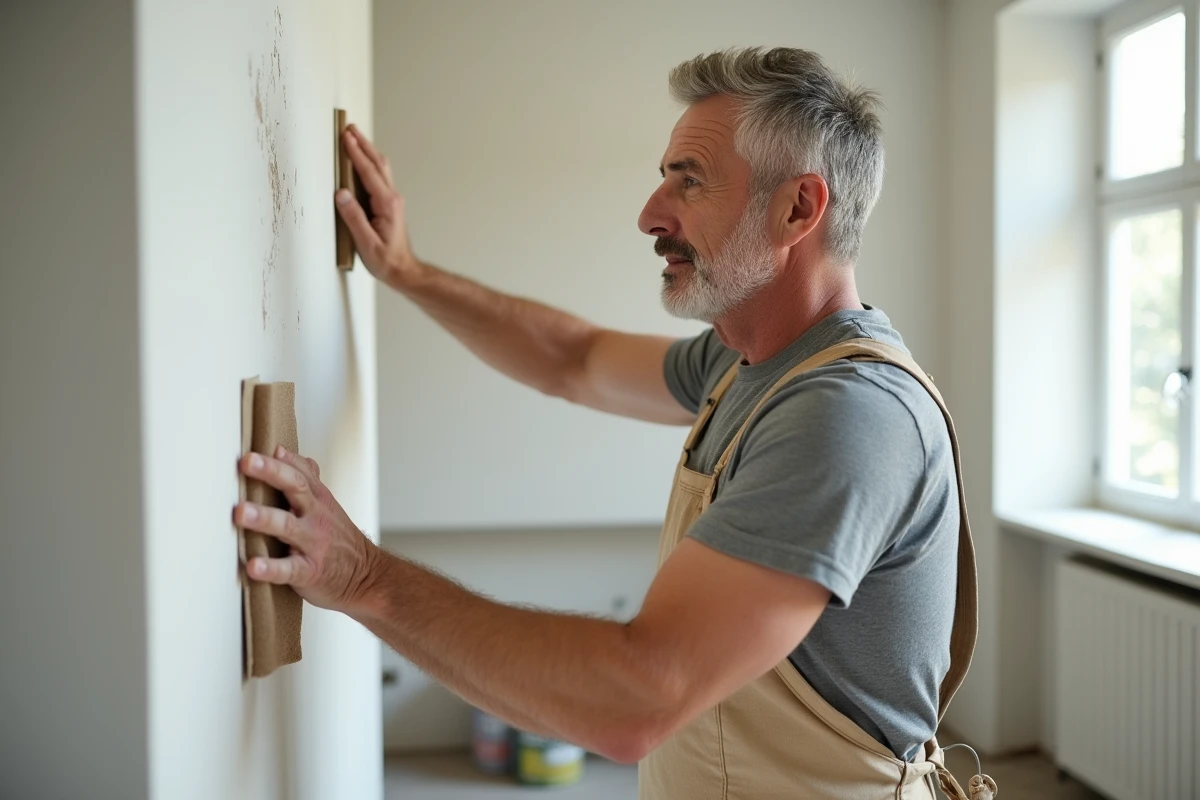
A wall that appears clean can hide irregularities invisible to the naked eye, but very visible once the paint is applied. The choice of sandpaper for sanding a wall before painting directly determines the final result, the durability of the paint, and the time you will spend correcting defects afterward.
Sandpaper Grit and Low VOC Eco-Friendly Paints
Low volatile organic compound (VOC) paints use binders different from traditional paints. These binders, often made from plant or mineral resins, form a thinner film that is more sensitive to micro-scratches left by sanding.
Have you ever noticed that eco-friendly paint peels or flakes a few months after application, even when the preparation seemed correct? The problem often stems from using too coarse a grit. The grooves left by an 80 or 100 grit abrasive create areas where the binder does not adhere evenly.
For these paints, a minimum grit of 180 is required for the final pass. Some anti-mold formulations lose their protective properties if the surface has too pronounced micro-reliefs: fungicidal agents concentrate in the hollows instead of spreading evenly across the surface. Sanding with a 220 grit provides the necessary smoothness for the paint film to maintain its effectiveness.
To find out which sandpaper to use for sanding a wall in preparation for applying this type of paint, assume that you need to go up a notch from the usual recommendations.
What Grit of Abrasive Paper Depending on the Condition of the Wall
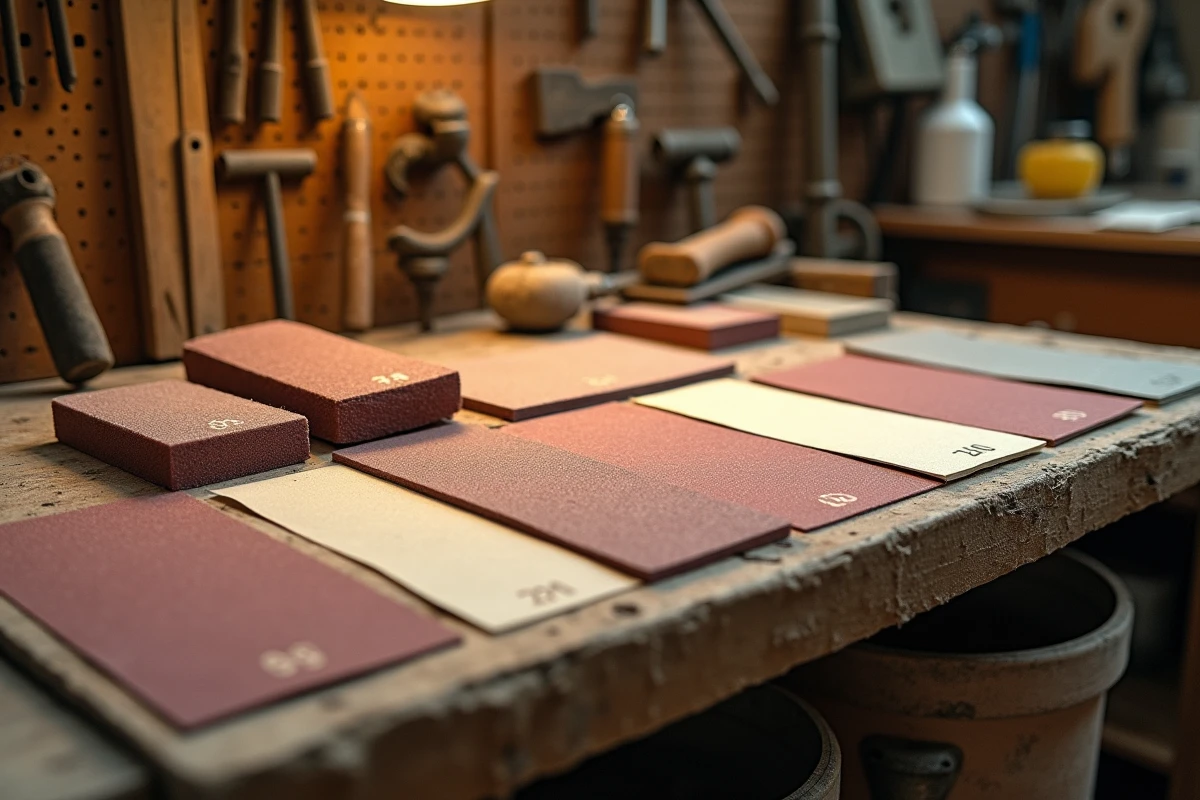
The grit indicates the size of the abrasive particles glued to the backing. The lower the number, the larger and more aggressive the particles. The higher the number, the finer the sanding.
The condition of your wall dictates the starting point.
Wall with Fresh Filler
After filling holes or cracks with plaster or filler, the repaired areas often slightly protrude from the surface. Start with a grit of 80 to rough down the excess filler, then move to 120 grit to even it out, and finish with 150 or 180 grit.
Previously Painted Wall with No Visible Damage
If the existing paint is holding well, with no peeling or bubbling, a light sanding is sufficient to create a bond. A grit of 120 to 150 provides the ideal micro-relief for the new layer to adhere without damaging the old one.
Raw or New Plaster Wall
New plaster sometimes has roughness left by the trowel. A pass with 120 grit, followed by a finish with 180 grit, is sufficient in most cases. Sanding too hard on raw plaster risks gouging the surface and creating visible dips under the paint.
Sanding the Wall in Multiple Passes: The Progressive Method
Jumping directly from the coarsest grit to the finest is a common mistake. The deep scratches left by 80 grit do not disappear with a simple pass of 180 grit.
Progressing in stages yields a much more even result:
- First pass with the grit suitable for the main defect (80 for thick filler, 100 for moderate irregularities)
- Second pass with an intermediate grit (120 or 150) to erase the scratches from the first
- Third pass with a fine grit (180 or 220) to achieve a surface ready for painting
Each pass erases the traces of the previous one, not the defects of the wall. If a dip or bump persists after the first pass, it is a filler defect that needs to be addressed, not a sanding issue.
Between each pass, dust the wall with a brush or a damp cloth. Sanding residues clog the next grit and reduce its effectiveness.
Sandpaper, Emery Cloth, or Abrasive Sponge: Which Backing to Choose for a Wall
The grit is not everything. The backing on which the abrasive particles are fixed changes how sanding behaves on a wall.
- Classic sandpaper (paper backing) is suitable for flat surfaces and areas without relief. It wears out quickly on hard fillers but remains the most affordable in terms of price.
- Abrasive cloth is more resistant to wear and bends without breaking. It is better suited for angular areas, such as door frames or wall corners.
- An abrasive sponge conforms to curves and irregular surfaces. For sanding around a rounded plaster joint or an outward corner, it offers control that rigid paper does not allow.
- Abrasive screens, mounted on a block or sander, allow dust to pass through the mesh. They clog less quickly and are particularly useful on large plaster surfaces.
On a plaster wall, abrasive screens last longer than paper because the very fine plaster dust quickly clogs the grains of regular paper.
Hand Sanding or Sander for a Wall Before Painting
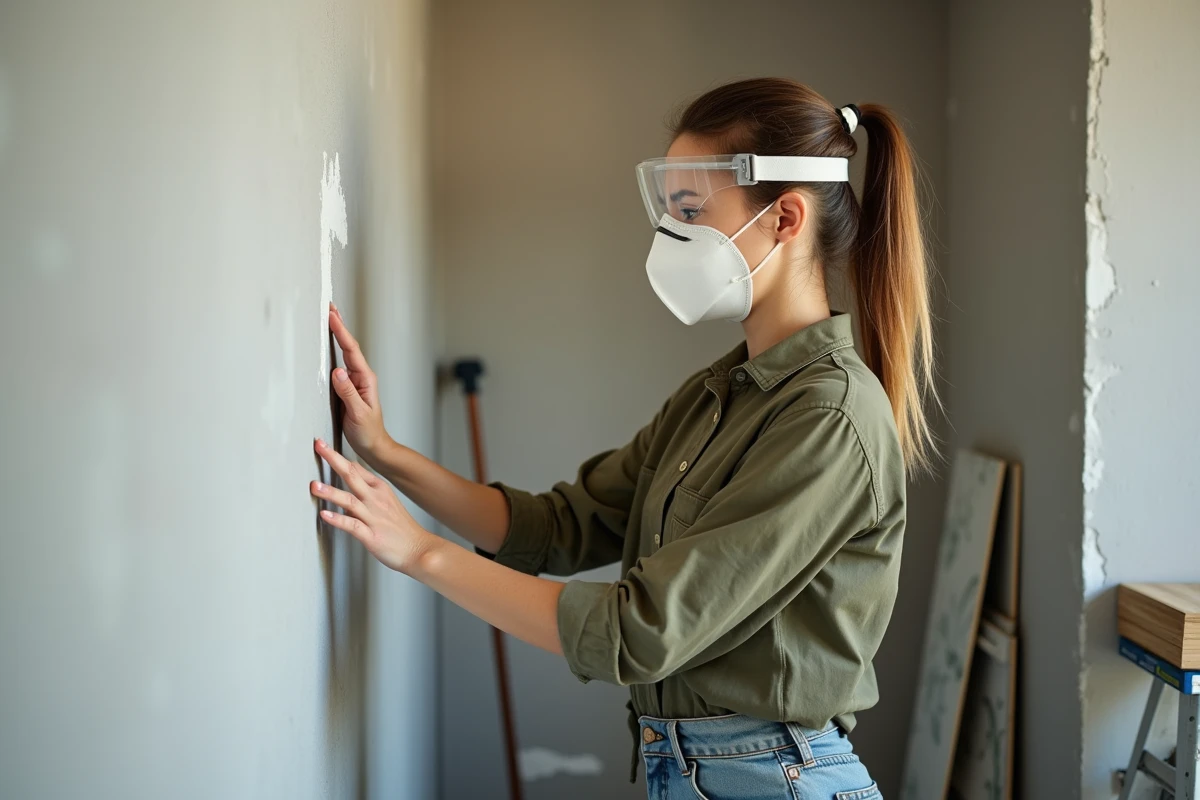
For an entire room, hand sanding takes a considerable amount of time and quickly tires the arms, especially at height. A pole sander (giraffe sander) with a rotating pad allows you to cover large wall and ceiling areas without excessive effort.
However, hand sanding is preferable around fragile areas: electrical outlets, baseboards, corners. The sander exerts uniform pressure that is difficult to control in tight spots.
With a standard orbital sander, avoid staying in the same spot for more than a few seconds. The rotary motion quickly gouges the plaster and leaves visible circular marks under satin or glossy paint.
Final Point Before Painting
After the last pass with fine grit, run your flat hand over the wall, without a glove. Your fingers detect irregularities that your eyes cannot see. If you feel a snag or a bump, touch it up locally with fine grit. The paint does not hide anything; it amplifies defects.